Power-Ups Compendium

Evergreen ~7–10 min
Ad slot — 728x90 / 320x50

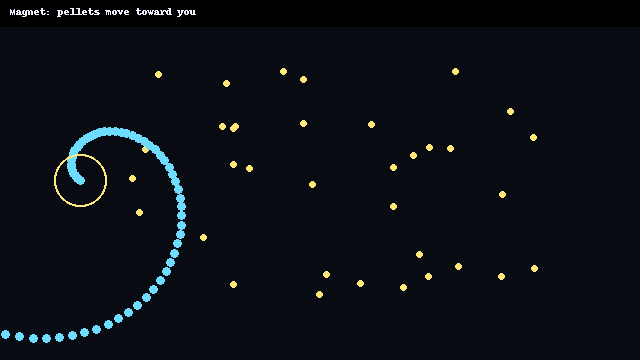
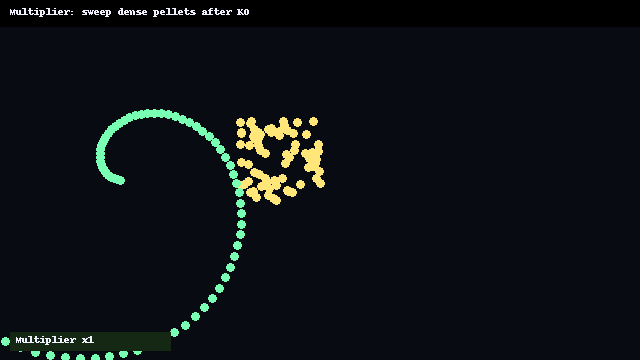
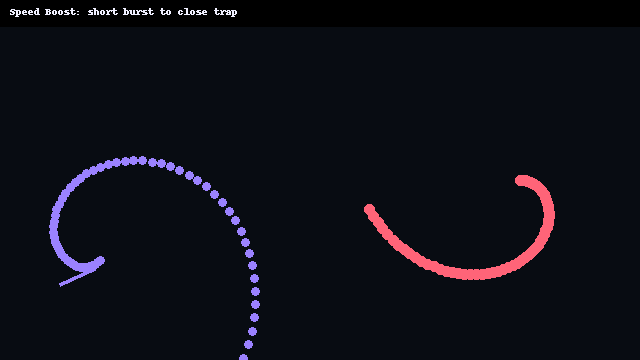
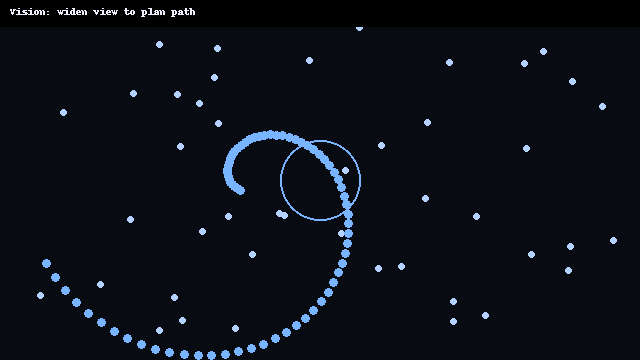
Overview & How to Use

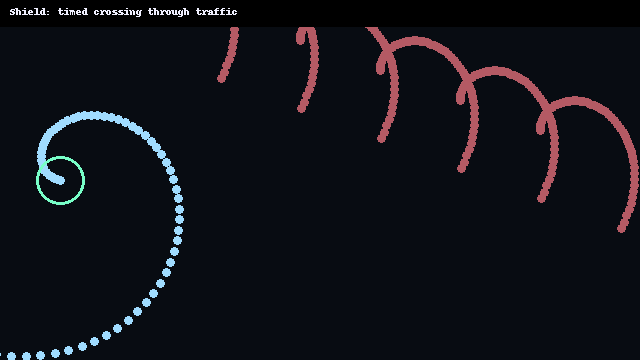
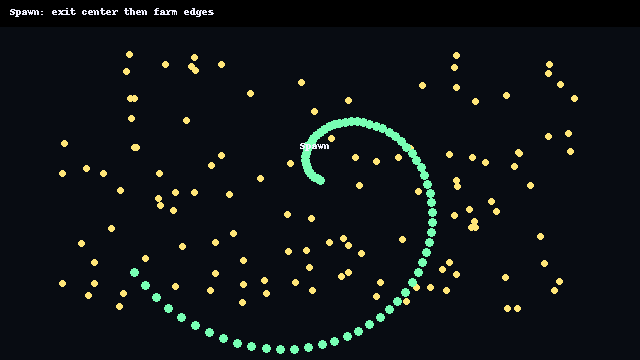
This evergreen guide explains every major worm.io power-up with short GIF demos, mechanics, best uses, counters, and links to segment-specific strategies (e.g., After-School Sprinters, Study-Hall Strategists, Competitive Min-Maxers, Zen Loopers, Co-Play Families).

Pro tip: Each power-up card includes “Best for” and “Avoid when” notes to match different player goals and attention spans.
Ad slot — Responsive mid-article

Quick Comparison Table

Power-Up Primary Benefit Risk Level Best Segments Ideal Use Case
Magnet Pulls pellets/food to you for faster growth Low Sprinters, Strategists, Families Early growth / safe farming
Score Multiplier Boosts points gained per pellet Medium Strategists, Min-Maxers Route to 10k+ runs
Speed Boost Short burst for escapes or traps High Min-Maxers, Sprinters Ambush & last-second dodges
Vision / Zoom Wider view to plan routes/avoid threats Low Strategists, Zen Loopers Pathfinding & calm play
Shield / Invulnerability Brief protection from collisions Medium Families, Sprinters Learning & high-risk zones
Shrink / Agility Tighter turns, agile escapes Medium Min-Maxers Threading gaps / counter-traps
Spawn Booster Improved early resources after spawn Low All Early snowballing

Note: Power-up names vary by title. Map these to your game’s icons/labels.

Magnet

Growth Risk: Low Duration: Short–Med

Mechanic: Attracts nearby pellets to your worm, speeding up growth with less steering risk.

Best uses: Early-game farming; pairing with Score Multiplier for burst gains.

Counters: Opponents may predict your straight lines; use Vision to avoid ambushes.

After-School Sprinters Study-Hall Strategists Co-Play Families
Magnet power-up pulling pellets to the worm
Magnet + safe perimeter path → steady growth without risky duels.
Ad slot — mid-article banner
DoAvoid
Chain with Multiplier for maximum XP/points.Rushing center ring without Vision—ambush risk.
Skirt edges for low-conflict pickups.Long straight lines near larger worms.

Score Multiplier

Economy Risk: Medium Duration: Short

Mechanic: Temporarily increases points earned per pellet. Highest ROI when you have guaranteed, dense pickups (e.g., after a nearby KO or paired with Magnet).

Best uses: Timed routes; sweeping fresh drop zones; converting enemy spills.

Counters: Enemies bait you into greedy lines—watch Speed Boost ambushes.

Study-Hall Strategists Competitive Min-Maxers
Score Multiplier sweep after enemy KO
Trigger right after a KO spill → massive, safe point burst.

Speed Boost

Tactics Risk: High Duration: Very Short

Mechanic: Brief acceleration for escapes, cut-offs, or closing traps. High crash risk if overused.

Best uses: Last-second lane changes; finishing a circle trap; dodging head-ons.

Counters: Opponents bait your boost into walls or bodies—keep an exit path visible (pair with Vision).

Competitive Min-Maxers After-School Sprinters
Speed boost ambush to close a trap
Short boost to close a trap — release early to avoid oversteer.
SignalAction
Two exits on screenSafe to attempt boost play
Single narrow laneAbort; reposition with Vision first

Vision / Zoom

Awareness Risk: Low Duration: Short–Med

Mechanic: Temporarily widens your field of view so you can plan safer paths and recognize traps early.

Best uses: Navigating dense center; setting up long sweeps; scouting for safe KO pickups.

Counters: Provides info, not power — still avoid greed. Combine with Multiplier when you spot rich lanes.

Study-Hall Strategists Zen Loopers
Vision power-up showing wider map awareness
Use Vision before committing to center sweeps or trap setups.

Shield / Invulnerability

Safety Risk: Medium Duration: Short

Mechanic: Brief collision forgiveness. Great for learning or traversing risky zones.

Best uses: Crossing traffic; picking up contested KO spills; teaching kids safe routes.

Counters: Overconfidence → shield ends mid-duel; watch the timer indicator.

Co-Play Families After-School Sprinters
Shield used to cross dense traffic safely
Time your crossing with Shield; exit traffic before it expires.

Shrink / Agility

Control Risk: Medium Duration: Short

Mechanic: Tightens turning radius for threading gaps and reversing traps.

Best uses: Escaping circles; precision jukes; counter-trapping aggressive boosters.

Counters: Lower mass makes you easier to bully—avoid long duels.

Competitive Min-Maxers
Shrink allows threading through tight gaps
Thread through gaps to break encirclements; don’t linger small.

Spawn Booster

Start Risk: Low Duration: Short

Mechanic: Improves early resources or survivability right after respawn.

Best uses: Sprint to a safe farm lane; chain into Magnet or Vision.

Counters: Don’t rush center with low info; path edges first.

All Segments
Spawn booster used to reach safe farming lane
Spawn → edges → Magnet chain for safe snowballing.
Ad slot — end-of-page banner / native

FAQ & Tips

  • What order should I prioritize? Vision → Magnet → Multiplier for safe growth; Speed only with two exits visible.
  • What counters greedy players? Hold Speed to punish long lines post-Multiplier.
  • Family mode? Favor Shield and Vision; avoid high-conflict center routes.

Looking for lag and control fixes? See the Lag & Control Playbook.